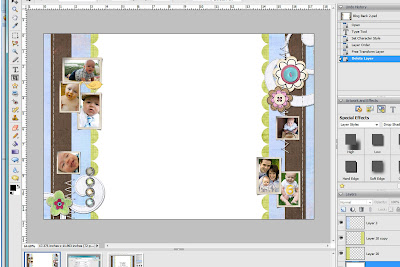
I have had a lot of people comment on my background and ask how I did it. So I decided to put together a quick tutorial of how to do it.
To Make Your Own Background:In a photo editing program, Start with a new screen. These are the sizes that I use; you may want to experiment with different sizes.
 Next, open up all of the elements that you plan to use with your background.
Then, you need to put all of the basic elements onto your background.
Here is my basic background:
 Next you’ll add any additional elements you want.
This is my completed background:

Upload it:
You need a http://www.photobucket.com/ account to upload.
Log in to your account and go to your image gallery. You’ll see the following box, where you will upload your background, but first you need to change the ‘reduce to’ area to say ‘1 megabyte’! This will make sure that your background will stretch the entire length of your screen.
 Once your background uploads, you’ll find it down with your other images, and you need to copy the option ‘direct link’, see below:
 Put it onto your blog:
Log in to your blog.
You will need a minima template for this.
Next go to ‘customize’ then ‘layout’ Then click on ‘edit HTML’. In the html coding go to where you see this:
body {background:$bgcolor;margin:0; color:$textcolor; font:x-small Georgia Serif; font-size/* */:/**/small; font-size: /**/small; text-align: center;
Change that part of the code to say this:
body {background:$bgcolor;background-image:url(direct link);background-position: center; background-repeat:no-repeat; background-attachment: fixed;margin:0; color:$textcolor; font:x-small Georgia Serif; font-size/* */:/**/small; font-size: /**/small; text-align: center;
Replace direct link in the coding with the direct link from photobucket.
You can hit preview to see if it worked and if it did click save.
 We don't go to the doctor for 7 month appointments, so here are Emerson's rough measurements:


